Introduction
Keycloak is a popular Java-based SAML/OpenID identity service provider application that can be self-hosted. It’s a very comprehensive package and widely supported, so even if it is a bit of a ‘heavyweight’ (resource and time-wise) to set up, host and support, it’s a more sensible and mature solution to adopt for now, and there doesn’t seem to be anything that fits our needs yet in the wider open source world.
We provide various services to a small number of teams, from a small number of organisations. The total number of teams and total number of users are still in single digits, but may grow at any time. So, we have a Keycloak instance configured, with a handful of Realms in which I have users and their group memberships configured.
One of these organisations is responsible for the running of our AWS account. For normal operations I authenticate (via CLI, API or web mgmt console) as an IAM user in the ‘main’ organisational account, and ‘assume role’ to manage resources in the other accounts. To log into the management console, I have to log in with the IAM username, password and MFA device. This means yet another username and password to manage.
With AWS Single Sign-On, the IAM user is no longer necessary. I can have AWS use ‘SAML’ to refer to Keycloak to vouch for my identity.
Security Assertion Markup Language (SAML)
SAML provides an XML-based interchange format that allows Service Providers (an SP - Amazon AWS in this case) to check with an Identity Service Provider (an IdP - Keycloak in this case) as to whether the certificate being presented by this user is indeed authentic, and that they are who they claim to be.
Roughly speaking, the user visits a specific entrypoint (sign-on) URL on the service provider’s site. If the user is not bearing a valid authentication token, the service provider redirects them to a landing page on the identity provider’s site, which authenticates them and provides them with a valid authentication token, and redirects them back to the service provider where they will be admitted entry. See the AWS Identity and Access Management docs for a more detailed explanation.
I’m probably not the best person to explain the inner workings of SAML. AWS do a pretty good job on their documentation page.
System for Cross-Domain Identity Management (SCIM)
It’s useful to know that SCIM is an API that allows service providers to synchronise user details and group membership information between different service providers. Typically, in an SSO arrangement, AWS SSO would use the IdP’s SCIM service to synchronise the users and groups into AWS SSO automatically.
The Caveat: Keycloak does not support SCIM. This means you are responsible for replicating any user and group information as is necessary into AWS SSO.
Apparently there is a third-party Keycloak module that provides SCIM functionality, but I have not had a chance to look into it. We currently have such a small number of users that it’s not a big issue to do this manually as part of the onboarding and offboarding process for now.
Integration with AWS Single Sign-on
First, you’ll need a browser tab open logged into your main AWS account as an Administrator user, or user with sufficient privileges. Navigate to the ‘AWS SSO’ section. Make sure you’re in the right account and region to avoid setting things up in the wrong place!
If (like me) you’ve following other out-of-date or broken (?) docs out there and failed, you’ll need to undo any previous attempts you’ve made. Go the ‘Settings’, click the ‘Management’ tab, and ‘Delete AWS SSO configuration’. Tick the tickboxes, and click ‘Delete’.
Next, open a browser tab in Keycloak admin, select the Realm you’re working on. Click ‘Clients’ and ensure you’ve removed any previous attempts to configure an AWS client for your realm.
Cock the hammer, it’s time for action!
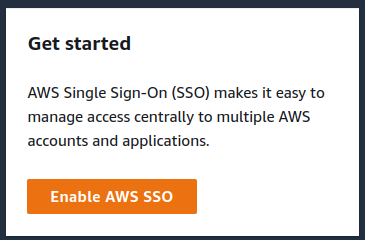
Enable SSO in AWS
Simple. Hit the big ‘Enable AWS SSO’ button in the AWS console to get started.
Set your preferred SSO portal subdomain
Next, you’ll be returned to the SSO Dashboard. In the top-right, you’ll see a panel like…
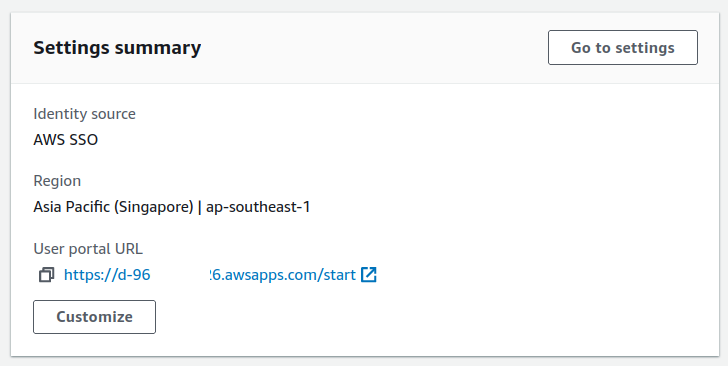
Click ‘Customize’…
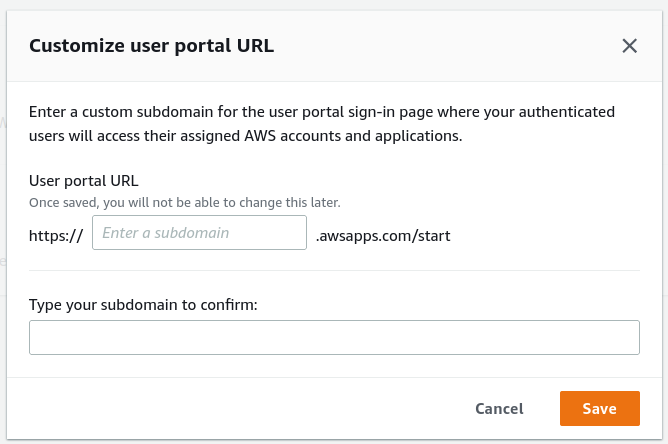
Choose a new portal URL, and click ‘Save’.
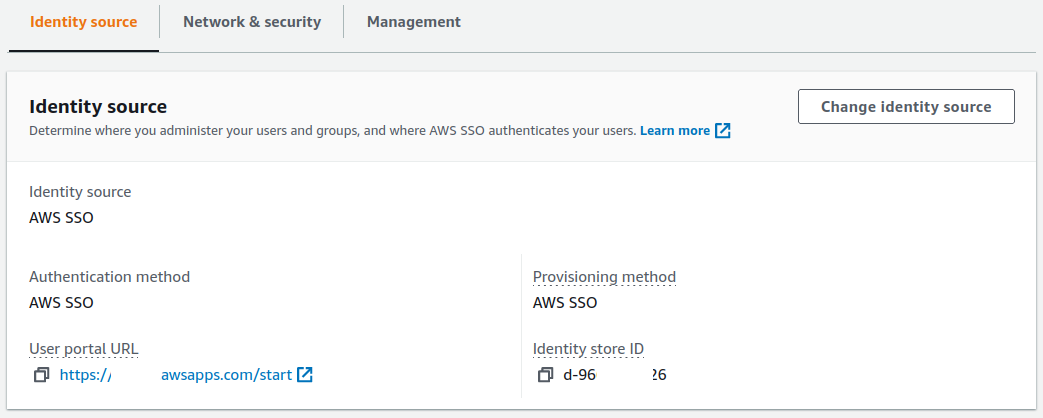
Configure Keycloak as identity source on AWS
On the ‘Settings’ page, on the ‘Identity Source’ tab, click the ‘Change Identity source’ button.
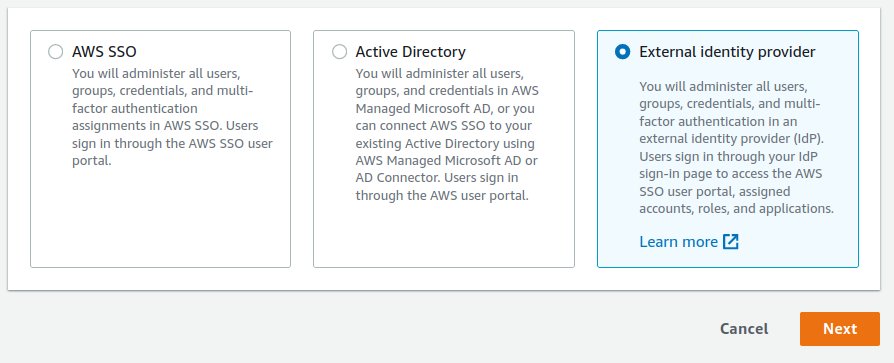
Choose ‘External identity provider’ and click ‘Next’.
You’ll come back to the ‘Configure external identity provider’ page.
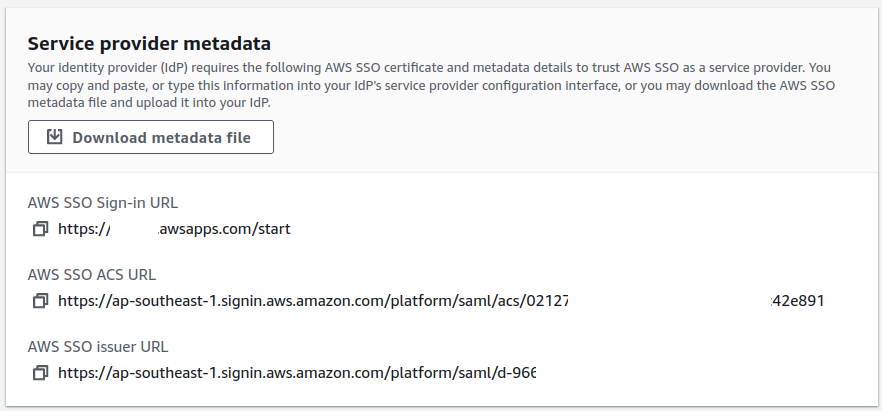
Download the metadata file. This is the Service Provider metadata.
Configure AWS as a SAML client on Keycloak
Now, go to Keycloak admin and add a new client to your realm. Upload the Service Provider metadata file. It will populate the Client ID field with the AWS SAML URL automatically.
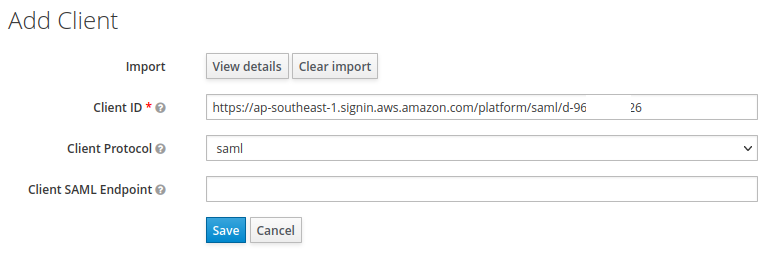
Click ‘Save’.
Now go to the ‘Realm Settings’, on the ‘General’ tab, towards the bottom is a link to ‘SAML 2.0 Identity Provider Metadata’.
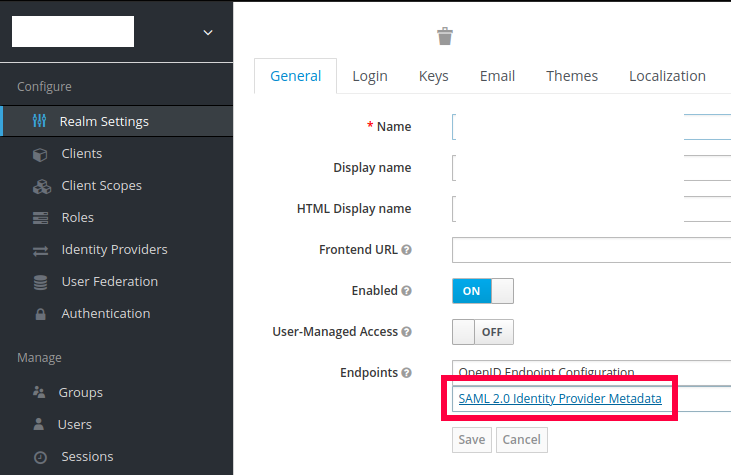
Download it. This is the Identity Provider metadata.
Continue configuring Keycloak as identity source on AWS
Back to AWS for the next bit. Further down the page is the Identity Provider configuration.

Upload the Identity Provider metadata from Keycloak and press ‘Next’. Confirm the change on the next page.
Set up AWS SSO users and groups
This step should be pretty self-explanatory.
I found I needed to configure users with e-mail addresses for logins. I think this is because in the docs it says ‘AWS SSO requires a SAML nameID format of email address’.
Of course, with SCIM support in Keycloak, this step shouldn’t be necessary.
Set up AWS SSO permissionsets
Now, decide what privileges each user or group should get once logged in by defining permission sets.
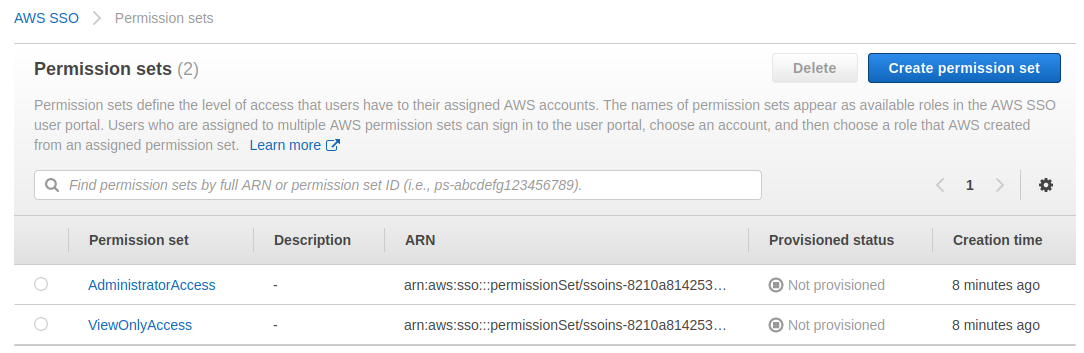
Ignore that they have not been provisioned yet. First, you need to set up the assignments, then they will become provisioned.
Once they are provisioned, you should be good to move on.
Test and debug configuration
At this point, things should ‘just work’. The SP has been introduced to the IdP and vice versa, they should be cool.
When I go ahead and test it, I get redirected to Keycloak just fine, but Keycloak returns an error page with ‘Invalid requester’, and in the logs some errors/warnings.
12:33:09,345 ERROR [org.keycloak.protocol.saml.SamlService] (default task-249) request validation failed: org.keycloak.common.VerificationException: Invalid signature on document
...(long stacktrace redacted)...
12:33:12,500 ERROR [org.archlinux.keycloakhttpwebhookprovider.provider.KeycloakHttpWebhookProvider] (default task-249) Failed to POST webhook: 500
12:33:12,515 WARN  [org.keycloak.events] (default task-249) type=LOGIN_ERROR, realmId=myrealmid, clientId=null, userId=null, ipAddress=1.2.3.4, error=invalid_signature
I then recall that in the AWS docs, it mentions that ‘An encryption key is not supported.’. So, I go back to the client settings in Keycloak and disable the ‘Client Signature Required’ option.
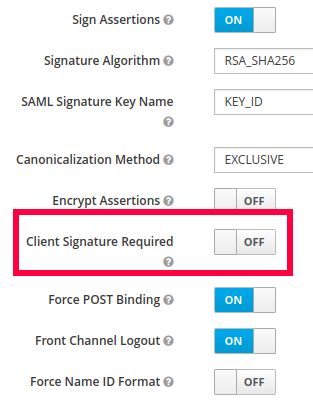
Now, when I test it, it works!!!